
Texture matching Longmont
Texture matching helps repaired or newly finished drywall blend with the surrounding walls or ceilings instead of standing out as a flat patch. This service is used after drywall repair, patching, remodeling, and selective replacement where the existing surface has orange peel, knockdown, hand-applied texture, or another visible pattern. The goal is to recreate the size, density, and application style of the surrounding texture so the transition looks more consistent once painted.
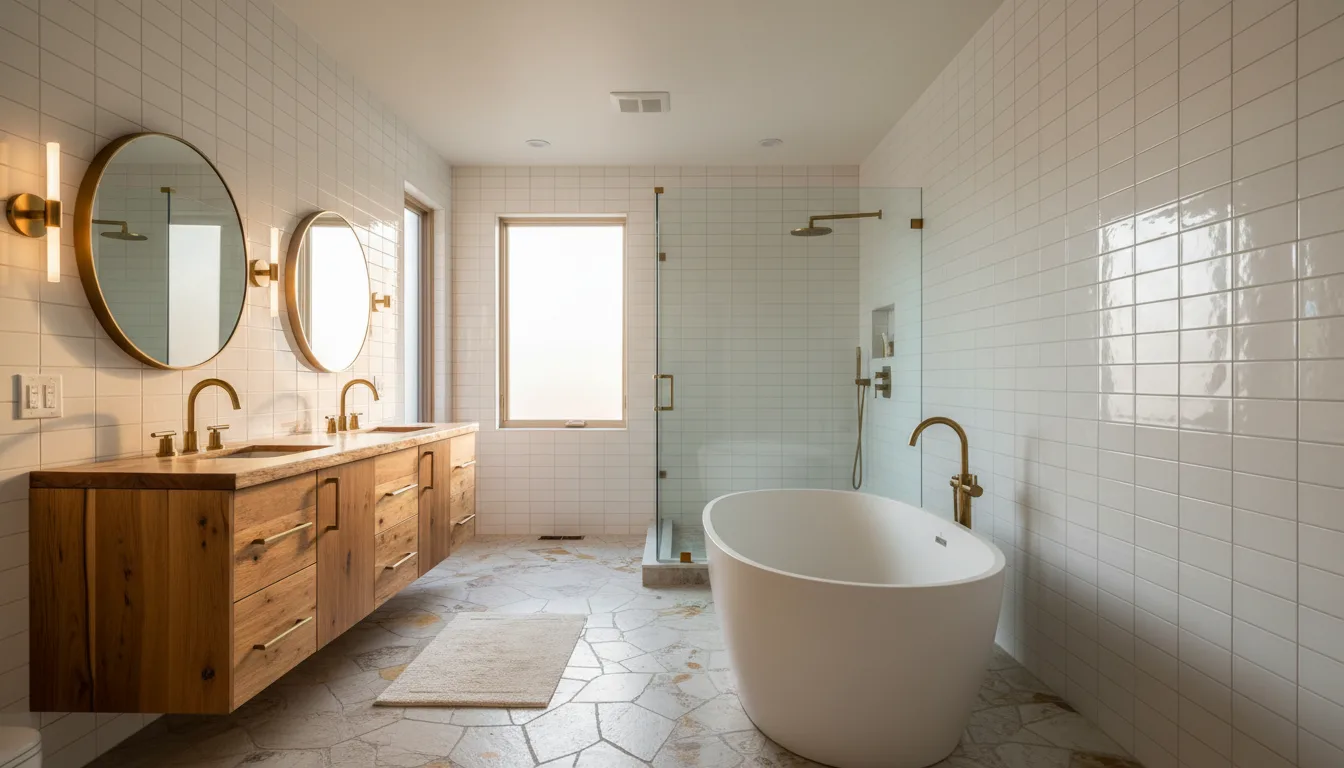
Texture matching is the finishing step that helps drywall repairs and new patches visually blend into the surrounding room. Even when a patch is structurally sound and smoothly finished, it can still remain obvious if the wall or ceiling texture is not recreated with the right pattern, depth, and coverage. Texture matching involves identifying the existing finish, testing application methods, adjusting material consistency, and applying the texture in a way that aligns with the surrounding surface.
This work can be especially tricky because no two textured surfaces are exactly the same. Existing texture may have been sprayed, rolled, troweled, or hand-applied years ago, and factors such as previous paint coats, lighting angle, patch size, and surface porosity can affect how the repair area looks. Matching often requires careful edge blending so the transition from old to new is less noticeable.
Texture matching is commonly needed after drywall repair, ceiling patching, plumbing and electrical access work, room updates, and selective wall replacement. In Northern Colorado homes, common texture patterns can vary from room to room and between older and newer additions. A well-matched texture helps repairs disappear more effectively and reduces the visual contrast that can remain even after good patching and painting.
Why You Need Texture matching
Signs You May Need This Service
- A repaired area looks smoother than the rest of the room
- Ceiling or wall patches are obvious from across the room
- The texture pattern changes around a previous repair
- Painted patches still look different because of surface texture
- An addition or replacement section does not match adjacent finishes
Our Process
Identify the existing texture pattern and scale
Prepare the patch surface so texture adheres evenly
Test application method and material consistency
Blend the repair edges into the surrounding field
Allow proper dry time before priming and painting
Pro Tip
Test texture on scrap drywall or cardboard before applying it to the wall or ceiling. Small changes in spray distance, mud thickness, or knockdown timing can change the final look a lot.
This matters most when trying to match existing orange peel or knockdown textures, where pattern size and flattening time determine whether the patch blends in.
⚠ Do not apply texture over an unprimed, dusty, or uneven patch if you want the repair to blend well.
Local Insights
Homes across Windsor, Fort Collins, Loveland, Boulder, and surrounding areas often have a mix of texture styles due to remodels, additions, and different build eras. Bright natural light along the Front Range can make even small texture mismatches stand out on ceilings and long walls. Matching texture well is especially important in open layouts and rooms with large windows.
Content reviewed by Mike Moen, Construction Guru LLC. Good texture matching is typically recognized by how closely the repaired area aligns with the surrounding pattern, depth, and overall visual consistency after paint.
Pricing Factors
- Texture type and complexity
- Size of the area to be blended
- Wall versus ceiling application difficulty
- Visibility under natural or directional light
- Condition of the surrounding painted surface